Consistent npm Development Environments using Docker
Developing web applications can get really tricky because of different npm/node versions used in different projects.
Docker enables a declarative way of managing these dependencies together with the actual source code.
We recently open-sourced our container for webdevelopment softaware/webdev on GitHub.
Motivation
Using npm for dependency management is a huge benefit in general, but managing npm itself can get really hard.
At first you can’t be sure that all your developers on a certain project use the same version of node and npm.
Vagrant could solve that, but Docker is way more lightweight.
Switching between multiple projects with different node/npm versions is another problem.
Solutions like nvm exist, but are not truly cross platform.
Additionally, they introduce an implicit external reference to your project.
We get the following advantages by using a container for web development at the cost of installing Docker. This does not really bother us, because Docker is used for a lot of other things anyway.
- Consistent node/npm version across multiple developer machines
- Committable development environments, versioned with the source code itself
- Checkout a project and simply run it - especially old projects (“making code F5-able” ☺)
- Ability to test other node/npm versions instantly/without installation
- Run npm-dev-dependencies without global installation in the container (e.g.
ng g ...)- because of the encapsulation provided by containerization we do not have security concerns
- Temporarily install global npm modules, they automatically get removed after the container is stopped
- Using the container is entirely optional
- Ready-to-use framework specific containers are available (e.g. Angular CLI)
Usage
Prerequisites: Docker must be installed on your system.
Additionally make sure that your project folder’s drive is shared in Docker.
The following example shows how you can leverage the container to add Docker Development Support to an existing Angular CLI project. For further usage please look at GitHub or the Examples.
The provided commands are intended to be used in PowerShell. Please adapt them, if you are using a different shell.
- Make sure that you delete your
node_modules-directory at first, because of incompatibilites between native node modules. - Create a script called
docker-devenv.ps1(or whatever you like) in your project’s root directory. This prevents you from typing or copying the docker run command. - Now add one of the following commands to your script:
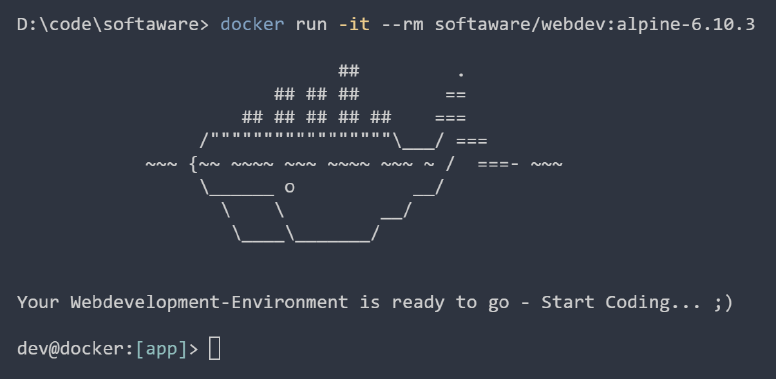
docker container run -it --rm -p 4200:4200 -v ${pwd}:/usr/src/app softaware/webdev:alpine-6.10.3(~20MB - small Alpine Linux, you may run into problems with native modules, then please try the Debian version)docker container run -it --rm -p 4200:4200 -v ${pwd}:/usr/src/app softaware/webdev:debian-6.10.3(~250MB - full Debian Linux)
- Adapt your
.angular-cli.jsonto container usage. (Instructions) - Now you can start your development environment with
.\docker-devenv.ps1and you are good to go. - Commit the script, document its usage and you will get a reproducable development environment on all of your dev-machines. ☺
The container is designed to use your project directory as a mapped volume. This enables some of your team members not to use the container if they want to and their local npm/node versions match!
Using the container with the start-script hides Docker as much as possible. A little bit of Docker knowledge can help, especially if anything goes wrong, but apart from that you do not really realize that you are using a container. When using the container, the following few things might be interesting for you.
Caveats
Shared node_modules directory
In contrast to “Improving npm install in Docker” we decided not to hide the node_modules in the container.
The reason was TypeScript.
To get proper autocompletion in Editors like Visual Studio Code for your dependencies, type-information is used based on the .ts-Files in your node_modules directory.
If you hide this directory in your container, you do not get the wonderful autocomplete, because it is hidden from editors.
The speed-loss is not that dramatic, especially because it just happens at the first large npm install. All subsequent npm install <package> do not really impact the performance, because of their small size.
On the other hand, native node modules may be a problem if you want to use npm inside and outside the container in parallel and if your Host-OS is different than your Container-OS.
The problem arises with natively compiled npm modules.
The recommended solution is to use the container only.
Angular CLI/Webpack Live Reloading (Windows)
Making the webserver of Angular CLI (or any other Webpack-based project) working, requires you to set the host-setting in .angular-cli.json to 0.0.0.0. Now the webserver binds to every available network interface, thus enabling access to it from the host.
Because of a problem with inotify file changes do not reflect in the container for mounted directories on Windows. This can be solved by enabling polling with setting
poll in .angular-cli.json like the following snippet shows:
// .angular-cli.json
"defaults": {
  "poll": 3000,
  "serve": {
    "host": "0.0.0.0"
  }
}
The same problems may arise if you are using gulp or webpack directly!
Utilize package.json
This section provides a few general hints for web development that helped us in addition to containerization.
(1) How to Solve the Global npm Module Dependency Problem¹
One of the biggest advantages of package.json is the scripts section, where you can specify anything you want to be runnable with npm run <script-name>.
In combination with devDependencies you can setup your whole project and all of its dependencies with a single npm install.
No globally installed modules are required to run your project.
Apart from installing your development dependencies with npm install --save-dev <npm-package> you then integrate all of your commands as following into package.json:
{
    ...
    "scripts": {
        "build": "gulp build"
    }
}
This enables you to build your project with npm run build which:
- prevents you from installing
gulpglobally, and - lets you change
gulpto any other build tool anytime.
¹ More information can be found in this excellent sitepoint article: “How to Solve the Global npm Module Dependency Problem”.
(2) Specify node and npm versions explicitly
To make sure that only specific versions of node and npm are used, it is possible to specify the required versions in package.json.
Combined with engine-strict = true in .npmrc node complains if these versions are not compatible and prevents you from version incompatibilities.
// package.json
"engines": {
  "node": "7.8.0", // or "7.x"; "5 - 7"; ">= 5"; more info: https://docs.npmjs.com/misc/semver
  "npm": "4.2.0"
}
// .npmrc
engine-strict = true