Building a scalable web application with ASP.NET Core and Azure - part 2

In this series of blog posts, we are going to build a scalable web application that can handle millions of users with Azure and .NET. In part 2, we’re going to create an initial implementation.
- Part 1 defines the scenario and requirements.
Initial implementation
Let’s start by implementing the two endpoints described in part 1 with our default technology stack: ASP.NET Core for implementing the API and Entity Framework for the data access. The code for this post can be found on GitHub.
As announced in the first post, we’re going to start with a simple implementation using the same techniques we’d use in a typical CRUD application and see how we can improve it later.
Entity Framework
This is the data model used by our app:
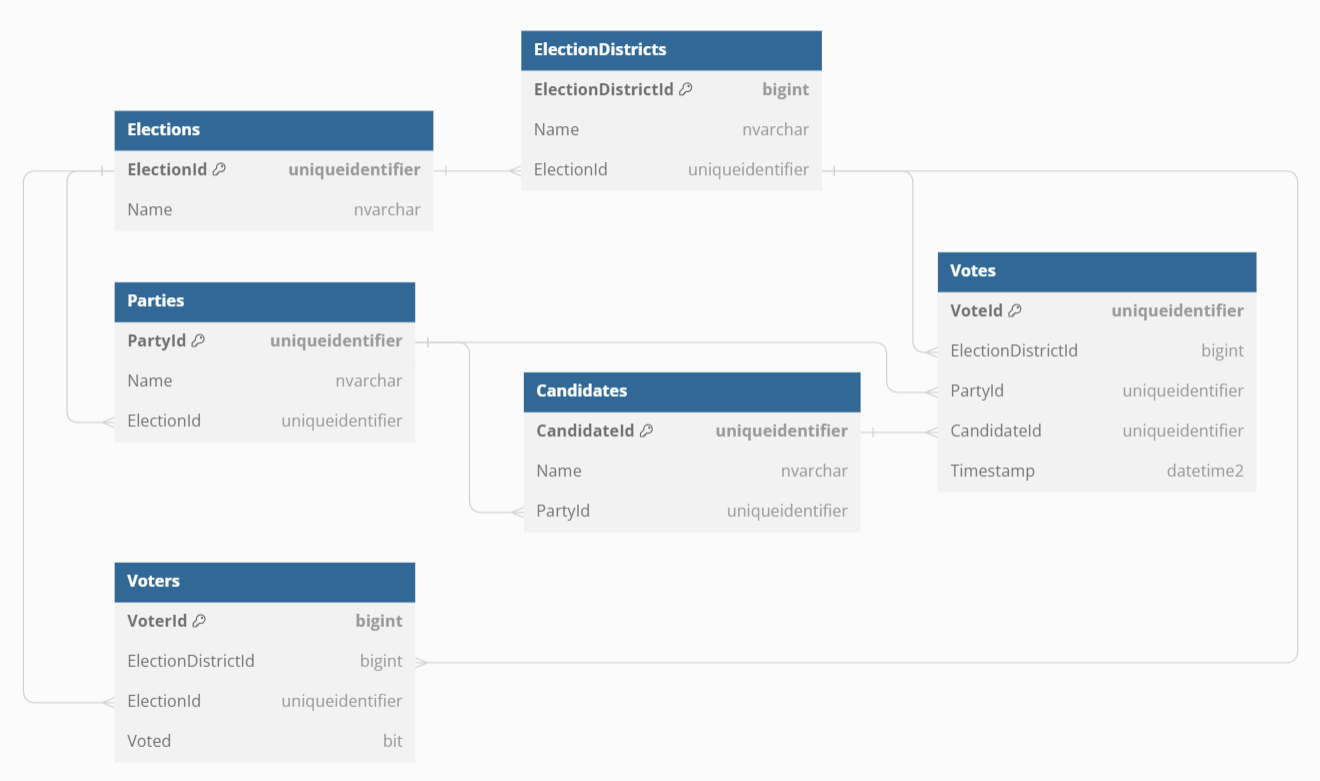
This diagram was not drawn, but programmed on https://dbdiagram.io! Want to know more?
Note how we store the Voted flag for every voter, but the actual vote for a party and optional candidate is stored in a separate table with no connection to the voter.
There is nothing special about the models and the EF context. If you want, you can check out the code here.
ASP.NET Core API
With our entity model defined, we can implement the endpoints using ASP.NET Core. In a real project, we’d probably want to encapsulate the business logic in a service or CQS handler, but for our sample we can directly implement it in a minmal API:
Get parties and candidates
This is the code for the endpoint that retrieves parties and candidates for a given election:
app.MapGet(
    "election/{electionId:guid}/party",
    async (ScalectionContext context, Guid electionId, CancellationToken ct) =>
    {
        var strategy = context.Database.CreateExecutionStrategy();
        return await strategy.ExecuteAsync(async () =>
        {
            return await context.Parties
                .Where(p => p.ElectionId == electionId)
                .Include(p => p.Candidates)
                .Select(p => new
                {
                    p.PartyId,
                    p.Name,
                    Candidates = p.Candidates.Select(c => new
                    {
                        c.CandidateId,
                        c.Name
                    })
                })
                .ToListAsync(ct);
        });
    });
The election-id is passed as part of the URL. We also inject the EF context which we need to access the database and a CancellationToken that tells us if the request was aborted.
We wrap the data access code in an execution strategy for better resiliency and automatic retries.
Also, we don’t select the whole model but only the properties we actually want to return.
Vote for a party and candidate
The endpoint for posting a vote is a little more involved:
app.MapPost(
    "election/{electionId:guid}/vote",
    async (
        [FromHeader(Name = "x-election-district-id")] long electionDistrictId,
        [FromHeader(Name = "x-voter-id")] long voterId,
        Guid electionId,
        VoteDto dto,
        ScalectionContext context,
        CancellationToken ct) =>
    {
        var strategy = context.Database.CreateExecutionStrategy();
        return await strategy.ExecuteAsync(async () =>
        {
            var party = await context.Parties.SingleOrDefaultAsync(
                p => p.PartyId == dto.PartyId && p.ElectionId == electionId, ct);
            if (party == null)
            {
                return Results.NotFound();
            }

            if (dto.CandidateId.HasValue)
            {
                var candidate = await context.Candidates.SingleOrDefaultAsync(
                    c => c.CandidateId == dto.CandidateId &&
                         c.PartyId == dto.PartyId,
                    ct);
                if (candidate == null)
                {
                    return Results.NotFound();
                }
            }

            await using var transaction =
                await context.Database.BeginTransactionAsync(
                    IsolationLevel.RepeatableRead,
                    ct)
            {
                var voter = await context.Voters.FindAsync([voterId], ct);

                if (voter == null ||
                    voter.ElectionId != electionId ||
                    voter.ElectionDistrictId != electionDistrictId)
                {
                    return Results.Unauthorized();
                }

                if (voter.Voted)
                {
                    return Results.Conflict();
                }

                await context.Votes.AddAsync(new Vote()
                {
                    VoteId = Guid.NewGuid(),
                    PartyId = dto.PartyId,
                    CandidateId = dto.CandidateId,
                    ElectionDistrictId = voter.ElectionDistrictId,
                    Timestamp = DateTime.UtcNow
                }, cancellationToken);

                voter.Voted = true;

                await context.SaveChangesAsync(ct);

                await transaction.CommitAsync(ct);
            }

            return Results.NoContent();
        });
    });
As discussed in part 1, we require the voter-id and election-district-id as HTTP headers. The party-id and optional candidate-id are read from the body using a record:
record VoteDto(Guid PartyId, Guid? CandidateId);
Validation
First, we try to read the party from the database. If we can’t find a party with the given party-id or it belongs to another election, we simply return a 404 Not Found status code. If the vote has a candidate-id, we perform a similar check if a matching candidate exists in the database.
Voter authentication
Next, we need to authenticate the voter. If no voter with the given voter-id exists for the given election-id and election-district-id, we deny access by returning a 401 Unauthorized status code.
Then we need to check if the voter hasn’t already voted. If the Voted flag is true, we return a 409 Conflict status code.
Otherwise, we can finally
- store the vote
- set the voter’s
Votedflag totrue
Transactions
It’s vital that these two steps as well as the check of the Voted flag happen as a single, atomic operation. If multiple requests for the same voter come in at the same time, we must only count one vote (and reject the other requests).
By default, it could happen that multiple requests read a Voted value of false (and thus proceed to save a Vote) before any of them gets a chance to update it to true:
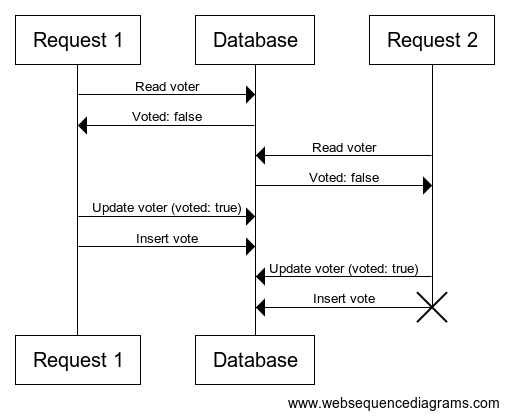
This diagram was not drawn, but programmed on https://www.websequencediagrams.com! Want to know more?
To avoid this race condition, we wrap the whole block in a database transaction using IsolationLevel.RepeatableRead (see for example the Entity Framework docs for details). In case of multiple requests, some of them may read a Voted value of false concurrently, but only one transaction will be able to successfully commit its changes to the database. The database ensures that the others will fail, they will retry because of our execution strategy, and now read the true value and return a 409 Conflict status code as desired.
Using transactions also makes sure that either all of the changes are written to the database, or none of them. Even in case of a network error, our data is always in a consistent state.
Of course, everything comes with a price, and the database needs to lock the affected rows to provide these guarantees. As we will see in the next post, this can often lead to bottlenecks that counteract scalability.
You can take a find the whole source code for the API on GitHub.
Migration Service
We added a separate service for database migrations and other housekeeping operations like seeding data or resetting all vote(r)s after a test. For example, before we can run load tests (as we’ll do in the next post), we’ll need to generate a sufficient number of election districts and voters in the database as every voter can only vote once.
We don’t list any code here as it isn’t directly relevant for our scalability sample, but if you want you can check it out here.
Aspire
.NET Aspire is a relatively new framework for building cloud-native applications. It makes it easier to develop distributed applications by solving some challenges out of the box:
- Service discovery: You don’t have to manually wire up the different parts of your application (in our case: connect API and migration service to the database). Without Aspire it’s often a cumbersome and error-prone exercise to configure development environments.
- Reliability and Resilience: Transient faults can happen at any time. After all, “The network is reliable” is the first fallacy of distributed computing. Aspire helps us to handle this by configuring sensible defaults for retry policies for network calls automatically.
- Deployment: Aspire makes it easy to deploy our app and all the necessary infrastructure to the cloud using the Azure Developer CLI.
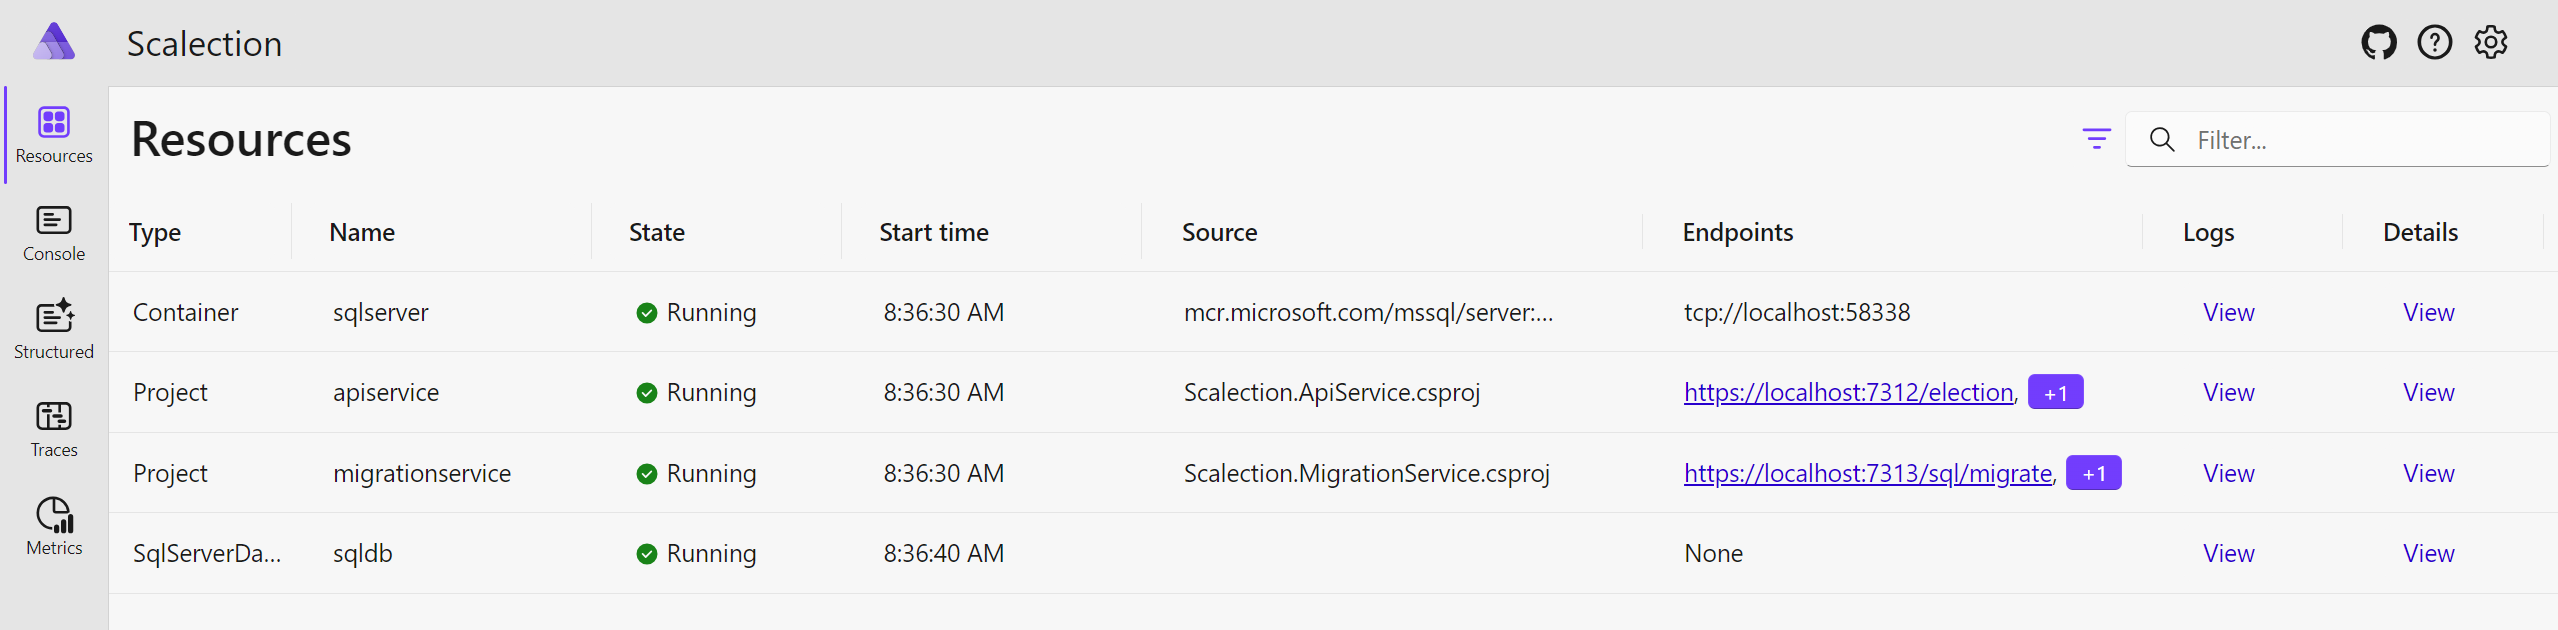
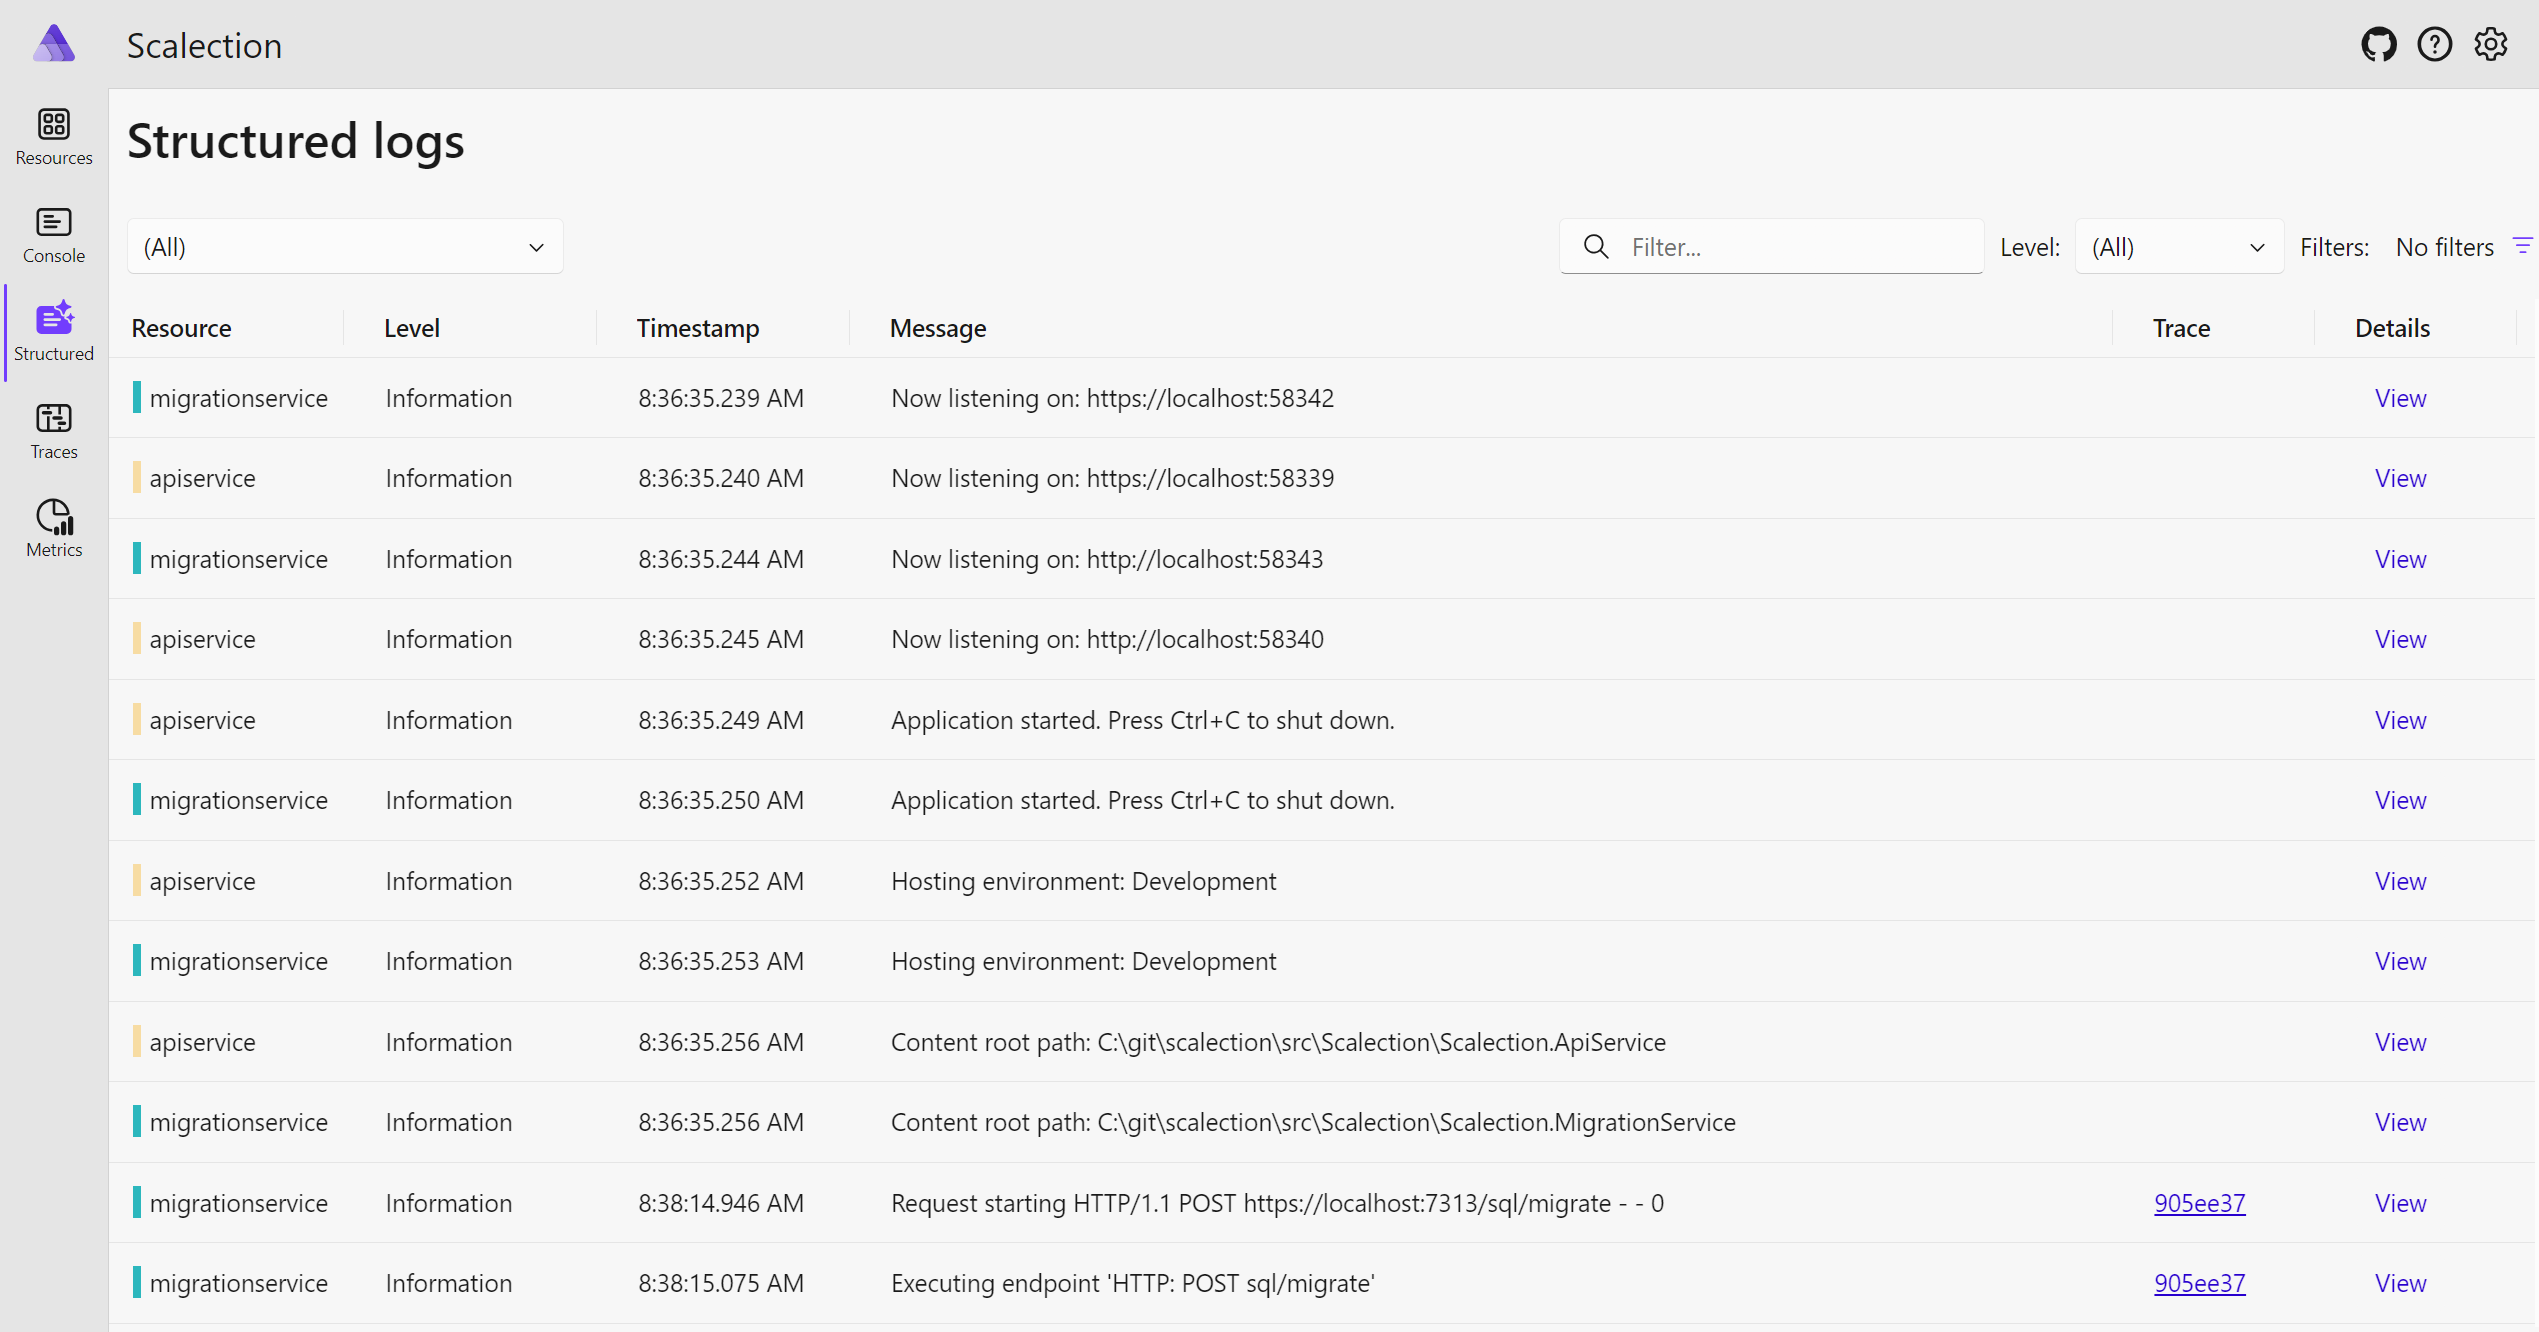
- Observability: Aspire heavily uses the OpenTelemetry standard for logging, tracing and metrics and comes with a readily usable dashboard for increased observability:
App Host
In order to use Aspire, we need to define the different components that make up our App and their relationships. We can do this using our familiar C# programming language and typed APIs:
var builder = DistributedApplication.CreateBuilder(args);

var sqlDB = builder.AddSqlServer(ServiceDiscovery.SqlServer)
                   .WithDataVolume() // persist data across app launches
                   .PublishAsAzureSqlDatabase()
                   .AddDatabase(ServiceDiscovery.SqlDB);

var appInsights = builder.ExecutionContext.IsPublishMode
    ? builder.AddAzureApplicationInsights(ServiceDiscovery.ApplicationInsights)
    : builder.AddConnectionString(
        ServiceDiscovery.ApplicationInsights,
        "APPLICATIONINSIGHTS_CONNECTION_STRING");

builder.AddProject<Projects.Scalection_ApiService>(
    ServiceDiscovery.ApiService)
    .WithReference(sqlDB)
    .WithReference(appInsights)
    .WithExternalHttpEndpoints();

builder.AddProject<Projects.Scalection_MigrationService>(
    ServiceDiscovery.MigrationService)
    .WithReference(sqlDB)
    .WithReference(appInsights)
    .WithExternalHttpEndpoints();

builder.Build().Run();
Deployment
By defining the components and their dependencies of our app this way, Aspire can do the wiring up automatically without us having to copy connection strings. It can also generate the necessary scripts to automatically deploy all required resources to an Azure resource group.
In our case, an Azure SQL database and an Azure Container Apps environment will be created. Our two services will then be deployed as container apps. This is nice, as container apps are inherently scalable: By default, they can quickly scale from 0 to 10 instances depending on the number of concurrent HTTP requests. That means that when there are no requests at all, we don’t have to pay for the CPU resources.
Summary
The previous post defined the requirements and goals for our Scalection app. This time, we created a first implementation using libraries and techniques common in the .NET ecosystem.
In the next post, we’re going to create a load test and see how well our solution performs!